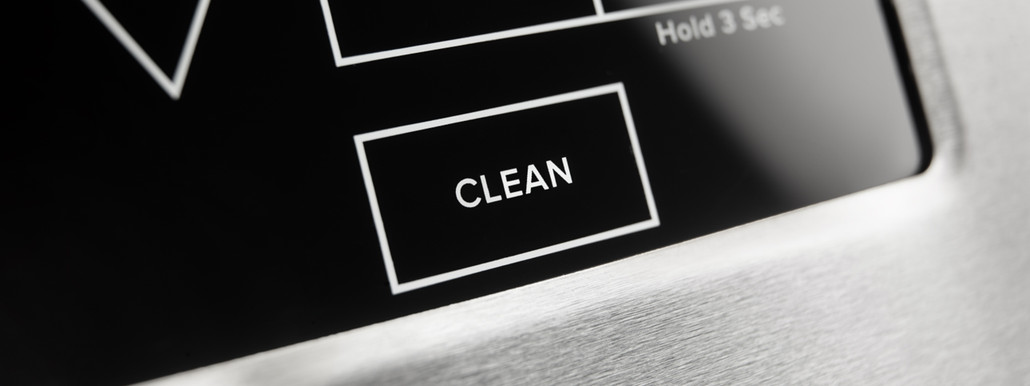
How Does a Self-Cleaning Oven Work?
31st May 2022
Cleaning your oven can be an unpleasant task: messy, smelly, and time-consuming. The good news? Many newer gas and electric models come with a self-cleaning feature that does most of the work for you, and without the use of chemicals. But how does a self-cleaning oven work? And how does it make your surfaces sparkle — almost all by itself?
First, there are two types of self-cleaning ovens, both highly effective in lifting built-up grease, drips, and burnt-on splatters from your oven’s surfaces. The steam version uses heat and water to loosen spills. The other type, called “pyrolytic,” uses very high heat (around 500°C) to burn off residue and turn it to ash. In both cases, once the self-cleaning cycle is complete, the steamed-off or burned-off residue is simply wiped away.
For self-cleaning oven owners this means less manual scrubbing, which can take hours, no toxic fumes from harsh cleaning chemicals, and peace of mind that in just a few hours that nasty grime will be history.
Here are the steps for using a self-cleaning oven:
- Prepare: Remove everything from your oven’s interior and storage drawer: foil, pots and pans, and oven racks (these can warp and discolour if left inside the oven during the process). Tip: To clean the racks, wash one at a time in warm, sudsy water. Rinse, let dry, and slide back into place.
- Wipe up big spills: Use a damp microfiber cloth to clean up any large pieces of debris or large spills. This helps to reduce burning odours. Do not use cleaning products.
- Ventilate the area: Run your fan hood and open any windows. This helps to disperse any strong smells from the self-cleaning process.
- Run the cycle: Select the self-cleaning option that best suits your cleaning needs. For example, many ovens have options for light, moderate, or heavy soil. Consult your self-cleaning oven model’s guidelines.
- Keep pets and kids away: The process is safe. However since the oven will get very hot, it’s best to keep little hands and paws out of reach until the oven has cooled.
- Wipe everything clean: When the self-cleaning cycle completes (typically 2.5 to 6 hours), wait until the oven is completely cool. Then use a damp towel or cloth to wipe down the white ash or any lingering residue. The self-cleaning oven’s special enamel coating makes this step easy and effortless.
And that’s it!
Typically, you’ll want to run the self-cleaning cycle every 4-6 months. Of course, it’s perfectly fine to use the feature more frequently if you have a major spill or if grease and splatters are accumulating more quickly.
It’s also a good practice to keep your self-cleaning oven free from debris between cleaning cycles. Be sure to use the correct tools (consult your care guide) and avoid any abrasive products or chemicals. By wiping up spills and loose bits of food as they appear — simply use a damp sponge or brush — you can prevent residue from building up.
You can also clean the oven door anytime with warm, sudsy water and a sponge. To eliminate streaks, use a scrubbing pad with a glass or grease-cutting multi-purpose cleaner, wipe with a clean cloth or sponge, and let dry.
So how does a self-cleaning oven work? The answer is: beautifully!
Self-cleaning ovens make ovening clean-up a breeze. The process is easy, straightforward, and involves minimal effort — just wipe up what’s been left behind — giving you more of your time back.
For more tips on how to use and care for your oven, or guides on how to choose your next cooking appliance — such as comparing convection vs. conventional ovens — check out our cooking related blogs.
